

Starting from Edition 2017, Microsoft SQL Server is available for deployment on Linux systems. This short guide lists the steps for installing SQL Server 2019 on a Mac.
I will be setting this up on the following system:

Beginning with it, it is necessary to install Docker for Mac. You can download it from this site.


Drag and drop the Docker icon into the applications folder to initiate its installation. You will afterwards get prompted to provide privileged access to Docker Desktop, therefore, you will need to provide your password to complete the installation of Docker components.

After that, you will be presented the Docker Desktop where you can follow a quick tutorial if this is your first time with Docker, or proceed to complete the above mentioned modules installation and finally, alter its Preferences.

In case you are following the tutorial first, by clicking Start, you are presented to the following set of commands that you need to execute, by just clicking on the >> spot.

At the end, you will have a demo container running, for you, to explore.
Go to Preferences and add 2 more GB of RAM to Docker Desktop.

Next step is to download and install MS SQL Server 2019. This can be done through terminal window, by executing the below command:
sudo docker pull mcr.microsoft.com/mssql/server:2019-latest
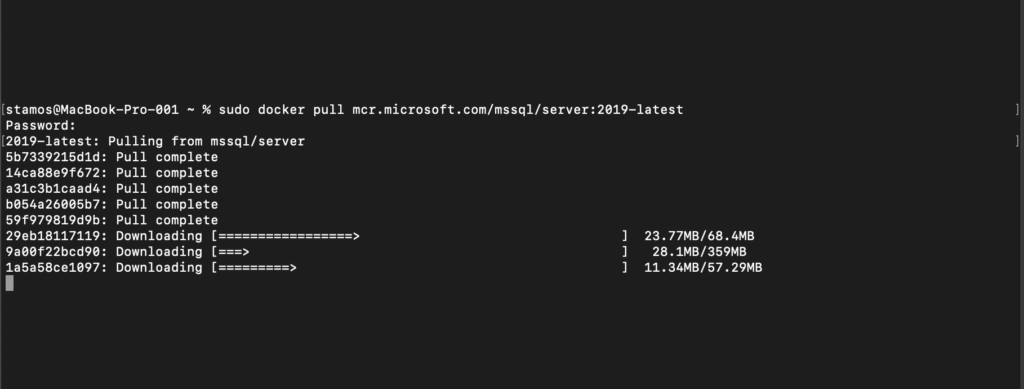
sudo docker run -e "ACCEPT_EULA" -e "SA_PASSWORD=your password" -p 1433:1433 --name yourname -d mcr.microsoft.com/mssql/server:2019your version

You can verify that everything works by typing the below command:
sudo docker ps -a
Atferwards, you can download a copy of the Azure Data Studio for Mac.
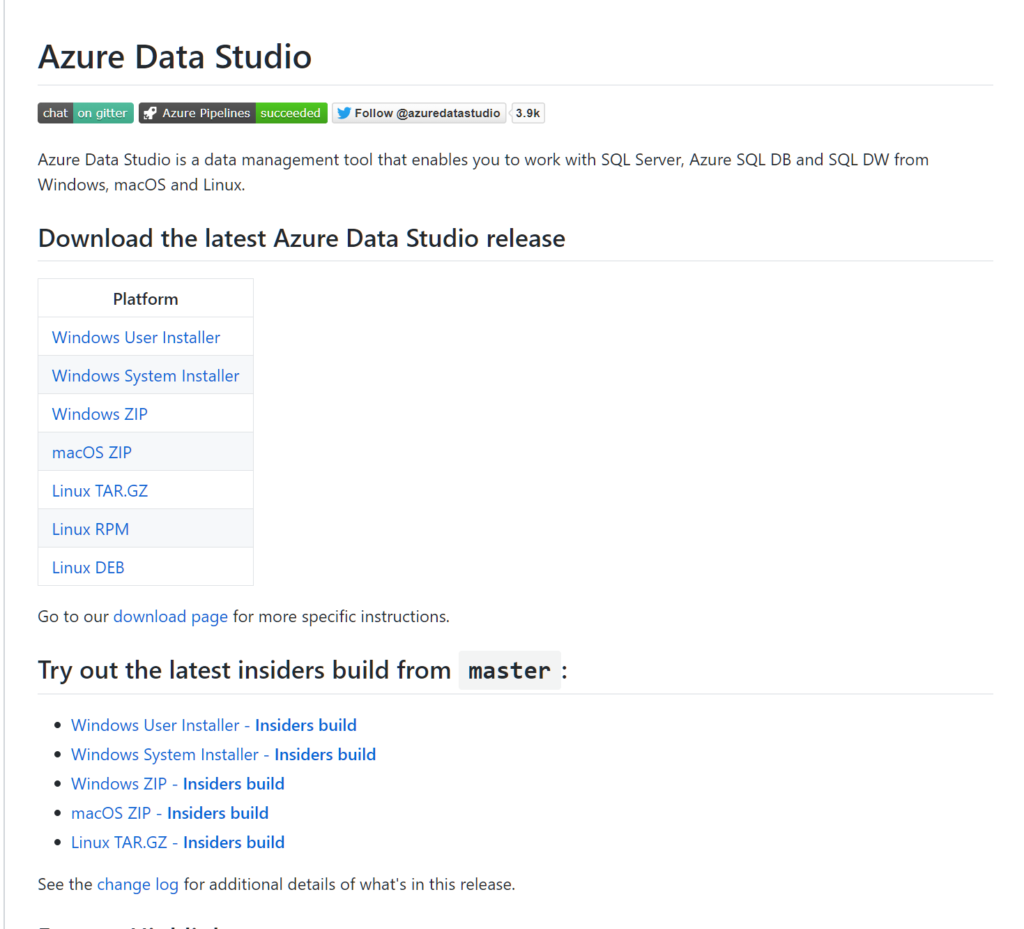
Finally, you can now use ADS to connect to your server and begin creating Databases!


Comments